
This post walks through how to build a high-performance particle system that responds to tap gesture.
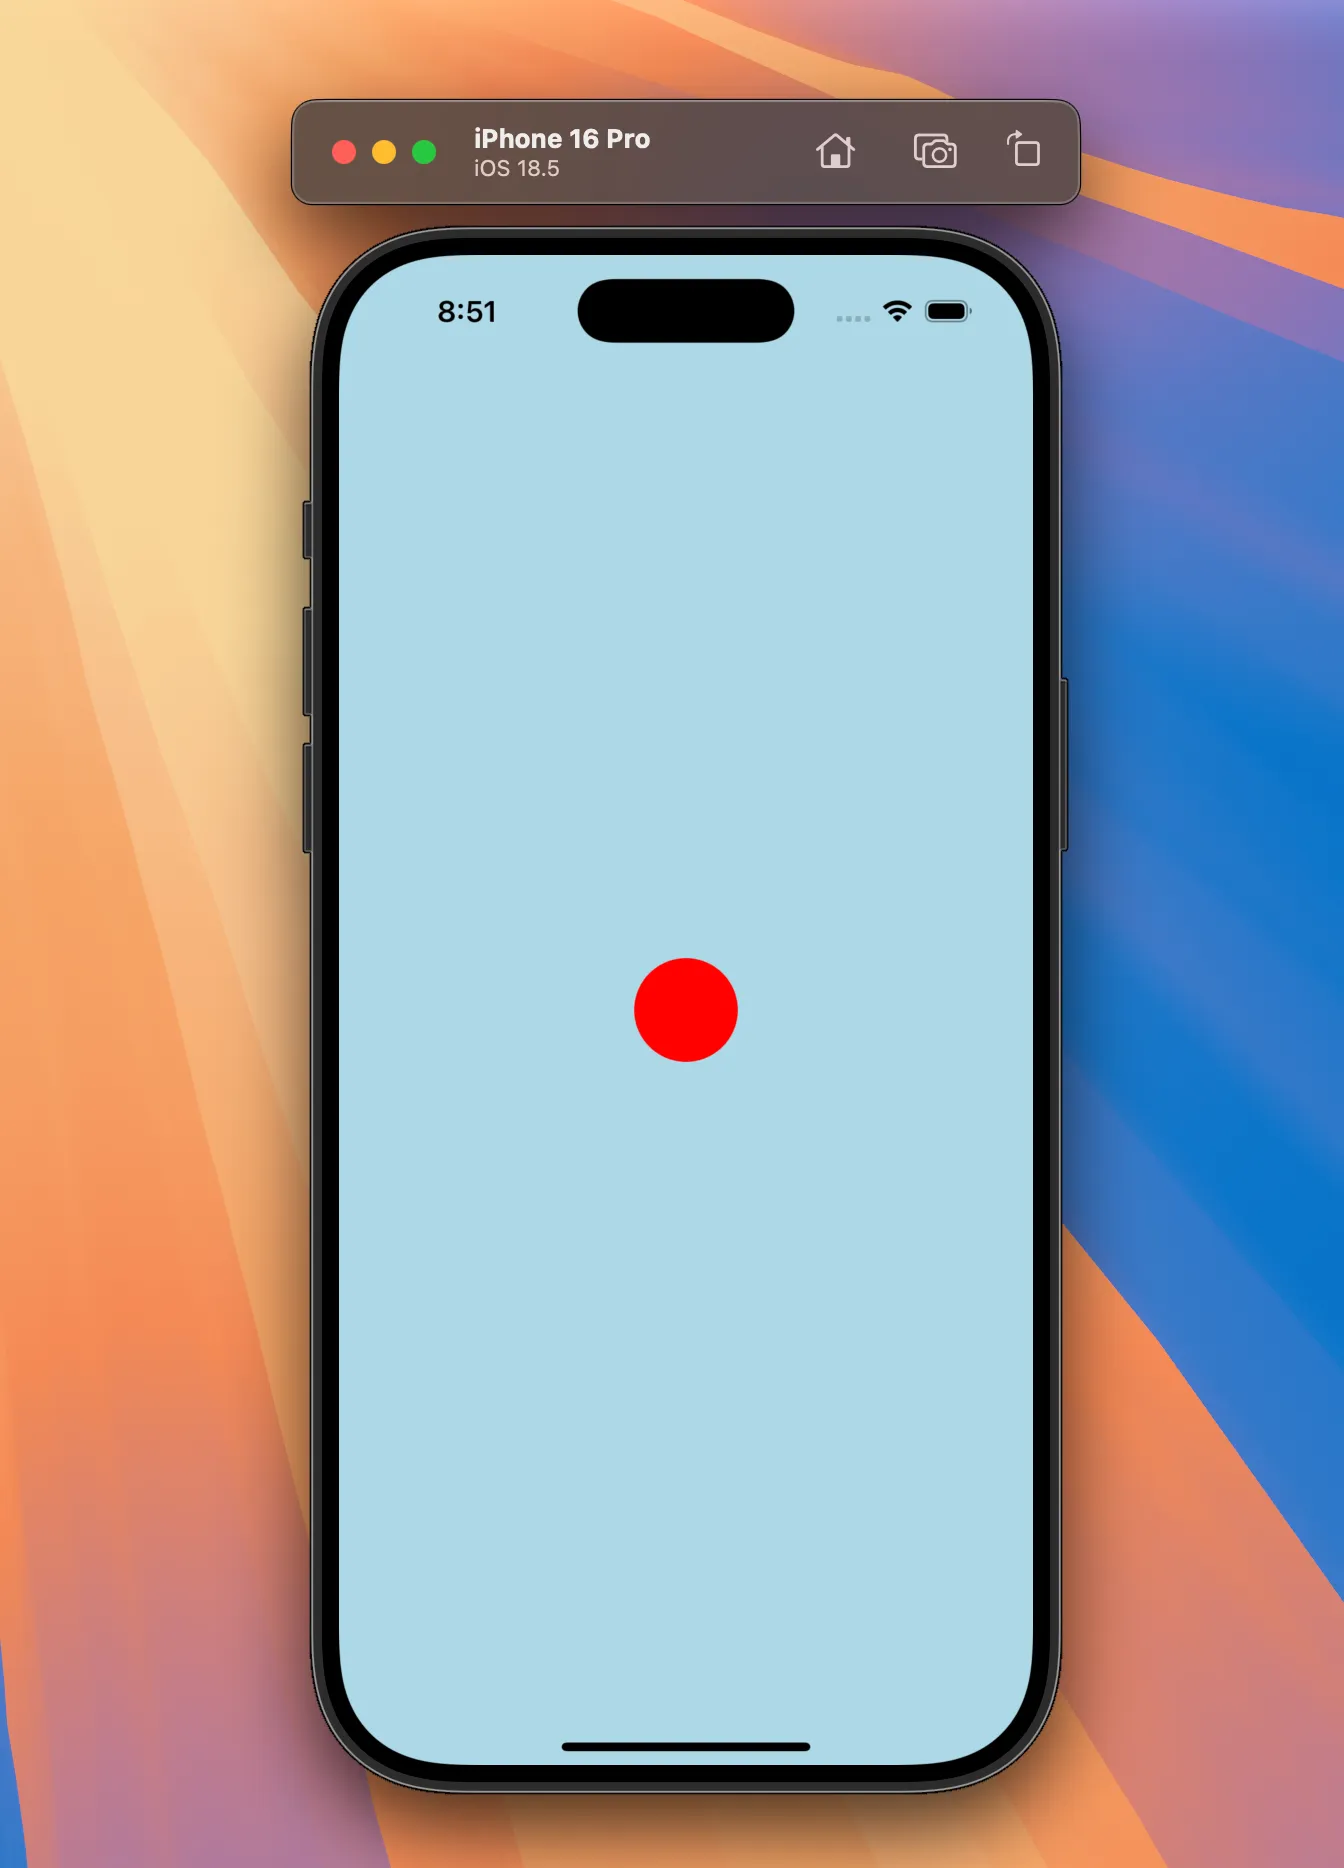
Here is what we will be building:
By the end of this guide, you will learn how to:
- Build a high-performance, physics-based particle system in React Native
- Understand the core principles of physics-based particle interactions.
- Utilize Reanimated and Gesture Handler to create fluid, gesture-driven animations.
Prerequisites
To follow along, you’ll need a project set up with the following libraries:
The package versions used for this post are:
{ "dependencies": { "@shopify/react-native-skia": "2.0.0-next.2", "react-native": "0.78.2", "react-native-gesture-handler": "^2.25.0", "react-native-reanimated": "^3.17.2" }}A basic familiarity with these libraries will help you get the most out of this guide. You don’t need a background in physics; the formulas we use are minimal and straightforward.
Core Idea
Our approach consists of five steps:
- Render the particle on a Skia canvas.
- Register gesture handler for tap events.
- Calculate a particle’s initial velocity from the gesture input.
- Animate the particle by updating their position based on velocity in each frame.
- Refine the simulation by adding forces like friction and restitution.
Rendering the Particles with Skia
Why Skia? We need to animate potentially hundreds of particles simultaneously. Attempting this with React Native View components would quickly lead to severe performance issues. Skia, however, is a high-performance 2D graphics library that draws directly on the UI thread using GPU acceleration. This ensures fluid, higher-performance rendering than View components.
Let’s begin by setting up our drawing surface. The library provides a Canvas component, which acts as the root for all our Skia drawings.
import { Canvas } from "@shopify/react-native-skia";
function Index() { return <Canvas style={{ flex: 1, backgroundColor: "lightblue" }} />;}
export default Index;Next, we’ll render our first particle using the Circle component. We need to position this circle at the center of the viewport. To do this, we can get the screen’s width and height from the Dimension API and divide them by two.
import { Canvas, Circle } from "@shopify/react-native-skia";import { Dimensions } from "react-native";
const { width, height } = Dimensions.get("window");
function Index() { const particleX = useSharedValue(width / 2); const particleY = useSharedValue(height / 2);
return ( <Canvas style={{ flex: 1, backgroundColor: "lightblue" }}> <Circle cx={particleX} cy={particleY} r={30} color="red" /> </Canvas> );}
export default Index;We now need to update our position variables to be shared values. This is because all animation calculations will run on the UI thread, allowing Skia to instantly reflect those values as it renders the particles.
Add Tap Gesture
The next step is to register a tap gesture on the Canvas.
We can define the gesture using the Gesture object, and apply it with the GestureDetector.
function Index() { const particleX = useSharedValue(width / 2); const particleY = useSharedValue(height / 2);
const tap = Gesture.Tap().onStart((e) => { console.log("tap"); });
return ( <GestureDetector gesture={tap}> <Canvas style={{ flex: 1, backgroundColor: "lightblue" }}> <Circle cx={particleX} cy={particleY} r={30} color="red" /> </Canvas> </GestureDetector> );}Warning
GestureDetector requires the entire app to be wrapped in <GestureRootView /> from react-native-gesture-handler.
Calculate a Particle’s Initial Velocity
When the user taps the screen, we want the particle to be pushed away from the tap. To achieve this, we’ll calculate its initial velocity.
But why calculate velocity instead of force?
While applying a force is an intuitive model, it adds significant complexity. We would need to manage a force variable over time (like resetting it), which can be difficult to maintain.
A simpler approach is to calculate the initial velocity just once. This is the value we ultimately need to start the animation.
Our process will be:
- Find the direction vector and normalize it
- Calculate a speed factor to get the final initial velocity
Normalizing the Direction
The “normalize direction” define the path the particle should move, separate from its speed.
To get this vector, we first need to calculate the difference between the tap’s location and the particle’s current position. We also need to define an “influence distance,” a range that limits the tap’s effect. I’ve set this value to 100.
const INFLUENCE_DISTANCE = 100;
function Index() {
// ...
const particleVelocityX = useSharedValue(0); const particleVelocityY = useSharedValue(0);
const tap = Gesture.Tap().onStart(e => { const tapX = e.absoluteX; const tapY = e.absoluteY;
const dx = tapX - particleX.value; const dy = tapY - particleY.value;
const dist = Math.sqrt(dx * dx + dy * dy);
if (dist < INFLUENCE_DISTANCE) { console.log('dist'); }};Now, we can calculate the direction using these values.
We’ll use the normalization formula for this. The key idea is to discard the distance (or magnitude) and get only the pure direction.
if (dist < 100) { const minDistance = 10; const safeDistance = Math.max(dist, minDistance);
const normalizedDx = dx / safeDistance; const normalizedDy = dy / safeDistance;}This variable is a crucial safeguard against a “divide by zero” error.
The resulting values now represent our pure direction. We will use this in the next step.
Calculate Velocity
We can simplify the physics for this interaction. While the formula is F = ma (Force = Mass × Acceleration), we can assume our particle’s mass is 1. This simplifies the equation to F = a, meaning our Force and Acceleration values are interchangeable.
This is why we can calculate a force and add it directly to our velocity.
const INFLUENCE_DISTANCE = 100;const PUSH_FORCE = 20;
function Index() {
// ... if (dist < INFLUENCE_DISTANCE) { const minDistance = 10; const safeDistance = Math.max(dist, minDistance);
const normalizedDx = dx / safeDistance; const normalizedDy = dy / safeDistance;
const forceMultiplier = INFLUENCE_DISTANCE / safeDistance; const pushForce = PUSH_FORCE * forceMultiplier;
const particleForceX = -normalizedDx * pushForce; const particleForceY = -normalizedDy * pushForce;
particleVelocityX.value += particleForceX; particleVelocityY.value += particleForceY; }You’ll notice we use a negative sign (e.g., -normalizedDx). This is because the normalized direction points from the particle to the tap, but we want to push the particle in the opposite direction.
Finally, we add this force (= acceleration) directly to the velocity.
Animate the Particle by Updating Position Based on Velocity
Now that we have a velocity, we need to apply it to our particle’s position on every frame to create motion.
We can achieve this using the useFrameCallback hook. This hook runs our code synchronously on the UI thread, firing at the display’s refresh rate (typically 60fps).
Inside this animation loop, we’ll use a simple physics method called Euler integration.
In simple terms, this method calculates an object’s next position by adding its current velocity to its current position. By repeating this calculation at 60fps, we create smooth, continuous motion.
Before we write the animation logic, let’s refactor our code for clarity by extracting the particle into its own Particle component.
return ( <GestureDetector gesture={tap}> <Canvas style={{flex: 1, backgroundColor: 'lightblue'}}> <Particle particleX={particleX} particleY={particleY} particleVelocityX={particleVelocityX} particleVelocityY={particleVelocityY} /> </Canvas> </GestureDetector> );}
function Particle({ particleX, particleY, particleVelocityX, particleVelocityY,}: { particleX: SharedValue<number>; particleY: SharedValue<number>; particleVelocityX: SharedValue<number>; particleVelocityY: SharedValue<number>;}) { return <Circle cx={particleX} cy={particleY} r={30} color="red" />;}Then, add useFrameCallback
function Particle({ particleX, particleY, particleVelocityX, particleVelocityY,}: { particleX: SharedValue<number>; particleY: SharedValue<number>; particleVelocityX: SharedValue<number>; particleVelocityY: SharedValue<number>;}) { useFrameCallback(() => { // logic });
const position = useDerivedValue(() => { return vec(particleX.value, particleY.value); });
return <Circle c={position} r={30} color="red" />;}First, we already know the particle’s velocity, so we can update the position.
const SPEED_SCALE = 2;
... useFrameCallback(() => { particleX.value += particleVelocityX.value * SPEED_SCALE; particleY.value += particleVelocityY.value * SPEED_SCALE; });This next part is the most crucial concept when combining Reanimated and Skia.
If you only update the shared value inside the frame callback, the particle will not move. Why?
- The hook does update the shared value on the UI thread.
- However, the Skia component does not know that this value has changed. Skia only redraws when its props (like
cxorcy) change.
We need a way to “tell” Skia to redraw whenever the position updates.
This is the exact purpose of useDerivedValue.
It creates a new shared value that listens to other shared values. When the position changes, it automatically re-runs and creates a new position object. Skia sees this new object as a new prop, triggering a redraw.
const SPEED_SCALE = 2;
function Particle({ particleX, particleY, particleVelocityX, particleVelocityY,}: { particleX: SharedValue<number>; particleY: SharedValue<number>; particleVelocityX: SharedValue<number>; particleVelocityY: SharedValue<number>;}) { useFrameCallback(() => { particleX.value += particleVelocityX.value * SPEED_SCALE; particleY.value += particleVelocityY.value * SPEED_SCALE; });
const position = useDerivedValue(() => { return vec(particleX.value, particleY.value); });
return <Circle c={position} r={30} color="red" />;}Notice in the code how we pass this value directly to the c prop.
With this final connection made, the particle will now move correctly. You can experiment by changing the constant to see how it affects the particle’s speed.
Refine the Simulation by Adding Forces
Our particle moves, but it has two problems: it’s too fast, and when tapped, it flies off-screen permanently.
We can fix this by adding two simple forces to our animation loop:
- A restoring force to pull the particle back to the center.
- Friction (or damping) to slow it down over time.
Restoring Force
First, let’s implement the restoring force. This force constantly pulls the particle back towards the center of the screen.
The logic is simple: the farther the particle is from the center, the stronger the pull. We calculate the distance from the center, multiply it by a small constant, and add that result directly to our velocity.
const RESTORE_FORCE = 0.01;
...
useFrameCallback(() => { const rtX = (width / 2 - particleX.value) * RESTORE_FORCE; const rtY = (height / 2 - particleY.value) * RESTORE_FORCE;
particleVelocityX.value += rtX; particleVelocityY.value += rtY;
particleX.value += particleVelocityX.value * SPEED_SCALE; particleY.value += particleVelocityY.value * SPEED_SCALE; });Friction (Damping)
If you run the code now, the particle works! It oscillates around the center like a pendulum, but it never stops.
To make it eventually settle, we’ll add friction (also known as damping). This works by reducing the particle’s velocity by a small percentage on every frame. We do this by multiplying the velocity by a constant (e.g., 0.98) inside the loop.
useFrameCallback(() => { const rtX = (width / 2 - particleX.value) * RESTORE_FORCE; const rtY = (height / 2 - particleY.value) * RESTORE_FORCE;
particleVelocityX.value += rtX; particleVelocityY.value += rtY;
particleVelocityX.value *= FRICTION; particleVelocityY.value *= FRICTION;
particleX.value += particleVelocityX.value * SPEED_SCALE; particleY.value += particleVelocityY.value * SPEED_SCALE;});Final Result
And with that, our interactive physics simulation is complete!
You’ve successfully built a system that responds to user input with realistic motion. From here, you can experiment by adding more forces (like gravity or wind) inside the animation loop.
Thanks for coding along!